This is my personal blog that hopefully others will enjoy finding information on projects, ideas, etc. that I have created, scraplifted or borrowed :)

Wednesday, January 25, 2012

CWC Weekly Challenge # 70-No Cards, Must have polka dots and use yellow!

Hello and welcome to another Weekly Challenge with Cooking with Cricut.  This week we were challenged to make anything but a card and it has to have polka dots and the color yellow.  I needed to make a thank you gift for a couple we are close friends with, I made the wife's thank you gift already (which I posted earlier this week here) and now I needed something manly, LOL.  I usually buy the husband a small bottle of liquor each year for their holiday party, it started as a little joke but has carried on each year.  So since I know he has already used that bottle I thought as the thank you I would buy him another one but this time I wanted to put it in something with a little note of thanks on it.  I found this idea online at http://cabioscraftcorner.blogspot.com/2011/12/magnolia-edwin-label-tag-on-mini-bottle.html and it was perfect!  (I always look online first because why recreate the wheel, right!).  Here is her post with the details http://cabioscraftcorner.blogspot.com/2012/01/mini-bottle-holder-tutorial-using.html.  The only difference I did was for my tag I used a 2 inch scalloped circle and a 1.5 inch circle.  I put the large stickles bottle inside, you could easily adjust the size and score lines to make it a little smaller for a small bottle of stickles.  I think next I will try and see if I can do like 4 or 6 and attach them to make a 4 or 6 pack.


I used my Cricut Art Philosophy to cut the 1.5 inch yellow circle and 2 inch scalloped circle but other wise it was just scoring and cutting in the right places.  I used my Pink by Design Big Thoughts stamp set for the Thanks so much sentiment (which was perfect).  Unfortunately, I do not have the bottle of liquor yet so I had to used a bottle of stickles as a stand in for the picture :) but you get the idea (you could also use it to give a bottle of stickles as a gift too because they fit perfect!).  I think I may do something like this but in a Christmas theme next year for the holidays, what a cute little "grown-up" gift!  Plus even if you do not drink (like me) those little mini bottles are so darn cute!

Thanks for stopping by, make sure you head over to Cooking with Cricut and get in on this weeks challenge!

PS: Because I used my Pink By Design stamps I am also "linking" this up over at http://www.pinkcricut.com/ for this weeks link up party!

Have a crafty day!

Monday, January 23, 2012

Cartridge Showcase at CWC: Spring Holiday Cards

Hello everyone, today I am spot lighting the Cricut cartridge Spring Holiday cards over at Cooking with Cricut so I hope you will stop by and take a look :)  Here a peek at a project I made using it:


Thanks and have a craft day!

Saturday, January 21, 2012

Cute Elephant Birthday Card

My girlfriend loves elephants so I wanted to make her a cute card for her birthday.  Of course I had to use the elephant on Create a Critter because it is too cute!  I also used Create a Critter for the balloons and party hat, then I added some twine for the balloon strings, some ribbon across the bottom, a cute Peachy Keen face stamp, a gem to the hat and that was it!  I can't believe I actually got it in the mail on time, LOL.


Saturday, January 14, 2012

Day 1 of CWC 1st Blog Hop of 2012-Something Old, Something New, Something Borrowed, Something Blue!

Welcome to Day one of PaperCraftingWorld.com and CookingWithCricut.com’s first Blog Hop of 2012!  Our theme is:  “Something Old, Something New, Something Borrowed, Something Blue!” 

If you have arrived here from Celeste's blog Touched by a Butterfly you’re in the right place!  If you’re joining us mid-hop, head on over to see Melin at CookingWithCricut.com and start at the beginning so you don’t miss any of the wonderful projects the Designers have created!

Our Designers had to use something old from their craft stash, something new (a recent purchase or new technique), something borrowed (an element from a Cricut cut or from a PaperCraftingWorld.com cutting file or digi stamp) and of course, something blue.

Here is what I came up with . . .


 I made these little favor bags for my former supervisors retirement party.  Her assistant loved my Halloween goodies so he asked me to make something.  For my old element I used my OLD Creative Memories Circle punch to punch out the circle sentiment after I printed them out on a sheet of paper on the computer.  For something new I used my new scallop circle punch (I love this thing already), for something "borrowed" I used some baggies that were actually meant for jewlery, I was able to stuff some nuggets in there and for something blue I used blue paper as my scallop circle to put my punched out circles on.  I used Cricut Art Philosophy for the bag toppers and I printed the labels for the nuggets right onto return address labels and put those on the nuggets!  Everyone loved them, including my now former supervisor :)  

Now head on over to  Charlotte at http://www.alittlebitofdetail.blogspot.com and see what she’s created! 

Make sure you check in tomorrow at CookingWithCricut.com and see what the Day Two Designers have cooked up!  Thanks for stopping by and hopping with us!  Have a crafty day!

Tuesday, January 10, 2012

School Birthday Goodie Bags

So 1 out of 2 is not bad right?  I did stay up late making goodie bags.  I really did not do much other than put the goodies Ally picked out into a bag and make some easy tags.  Since it was late I did not want to use my Cricut because it can be loud, my house is small and my girls room is above my craft room.  A few times I have used it late and one of my daughters will come down and ask me what I am doing so I know the sound carries up there, LOL.

Here is the tag:


I used my Creative Memories tag punch and circle punch and my Fiscars scalloped circle punch.  For the sentiments I used My Creative Time's All Around Birthday set.  Then (because I made girl and boy bags) I wrote each childs name on the tag and on the back I wrote From Ally.  It worked perfectly and Ally was SO excited to take them to school today.  I did not get to make any cupcakes or cake balls but we went to the store and bought some pink iced mini cupcakes which made her morning!

Monday, January 9, 2012

A Tangled Birthday

So my little girl (who the day she turned 4 asked me if she would be 4 forever and I begged her to stay that way...and then the very next night asked how long until she turns 5 and can wear eye make-up) turned 4 this past Saturday.  As you may remember from the invitations I posted earlier she had a Tangled themed birthday.  Unfortunately, the kids and I have been a little in and out of being under the weather so Mommy did not do much decorating for the party.  I did two Rapunzel themed hair things...first I put some yellow yarn that looks like hair and wrapped it around our banister coming from upstairs to downstairs. Fairly simple.  Then I took some more yellow yarn and braided it (boy that took more time than I expected) and put it on the front door.  It turned out cute (I did not get a picture of the hair going up the stairs :(:


I also tried to quickly do my daughters hair and luckily she loved it although it could have been much nicer :)


Lastly, I made the tower cake idea I found on the same site I found the invitations and braid on the door idea (here):


My girls and I also made some cupcakes and I just used store bought chocolate icing and flowers to put on top but they turned out yummy and cute!  They love helping me bake, for some reason they always want to taste the flour even though I tell them it is not sugar!  LOL.  Unfortunately, when I took pictures of them helping my flash did not work so the pictures are horrible but here is one anyway:


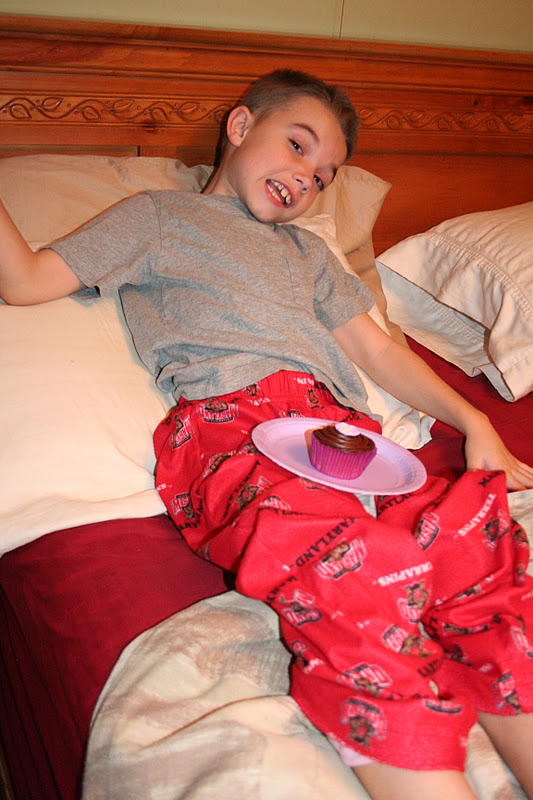
My younger son (8) was sick and quarantined the entire time but we did take him food and a cupcake...here he is enjoying it:


My oldest child (my 10 year old son) helped a lot with setting up and taking pictures for me so he is not in any but here is in from the morning birthday breakfast (donuts and mini pancakes).  He is the tallest one :)


Well, although I did not make a banner or lanterns like I wanted everyone seemed to have a good time and Ally had a great time.  She has a preschool celebration tomorrow (I am crossing my fingers she does not end up sick) so I am planning on making some goodie bags and make cake pops with a new cake pop maker my niece bought me for Christmas!  We will see!

Thanks for stopping by, have a craft day!

Wednesday, January 4, 2012

Bleach Pen Shirt

Hello everyone.  Wow, I can honestly say I am GLAD the holidays are over!  It is been so crazy for me and of course my daughters birthday is this weekend so it is still crazy but at least it is a milder crazy.  My niece turned 3 last week and we bought her some coloring books and markers, crayons, etc but I also wanted to make her a shirt.  She loves all things Disney, especially Mickey Mouse.  I found the idea of bleach pen shirts on Pinterest (I am on there now and LOVE it) and am planning on doing something for my daughters for Valentine's but until then I thought I could experiment with a shirt for my niece. 

Here it is:


I use Mickey Font for this cut, then I light taped it to the shirt and then traced around it with the bleach pen.  Unfortunately I took the picture before I washed the shirt.  It actually looks cuter and the edges, although not perfect, look better after being washed.  they look more soft than messed up.  I think it turned out cute and can't wait to see something with hearts for my girls for Valentine's Day. 

Thanks for stopping by!