This is my personal blog that hopefully others will enjoy finding information on projects, ideas, etc. that I have created, scraplifted or borrowed :)

Wednesday, November 30, 2011

CWC Wednesday Challenge-Candles, Wreaths and/or Pine Cones!

Hello, welcome back for another Cooking with Cricut Wednesday Weekly challenge! This weeks theme is candles, wreaths and/or pine cones.  I decided to make some Christmas tags for gifts when I finally get around to wrapping them :) (which is usually last minute).

Here it is:


I used my Jolly Holidays cartridge for the tag (green and red layers) and the wreat (green and red layers again) and cut them at 3 inches I believe.  I added some stamps that I had from a $1 stamp set, some white jelly roll pen stitching and a little bling to the wreath and the stamp (there was a stamped star there already but I wanted to add my blingy star instead) :)  I plan to make a few more like this and maybe some with a snowman on them...I will post those in another post when they are done :)

Now it's your turn! I hope you will head on over to Cooking with Cricut to enter your project!  TFL.


Have a crafty day!

Thursday, November 24, 2011

Turkey Tshirts for my girls

So I had seen t-shirts similar to this in 2 places over the last week and knew I wanted to make some shirts similar to those for my girls (I saw them here and here.   After work today (I got off 2 hours early-YEAH) I took the girls to Joann's and they picked out the brown fabric and the ribbon.  I also picked up some heat and bond and some fabric glue.  Then we went to AC Moore and they picked out their t-shirts (the pink was a real surprise...NOT).  After they went to bed I got started and here is what the finished product looks like:


I used Create a Critter to cut a paper template of the body, then I used it to cut out the fabric (by hand), then I put the heat and bond on it and set it aside.  I used the paper template to help me use the fabric glue to glue on the ribbon, then I added the body and ironed it on (I did end up using some fabric glue around the edges too because I did not want to sew anything).  I used the fabric glue to add some googly eyes, a hand cut (from scrap fabric I bought at AC Moore for $1 each) a beak and the waddle.  Lastly, I used my new iRock (did I mention I LOVE it) to give this turkey some cute blingy legs :)  I would have loved to add a Happy Thanksgiving or Happy Turkey Day sentiment but I ran out of energy...I think these will be just cute enough anyway :)  TFL and Happy Thanksgiving!

Tuesday, November 22, 2011

So Thankful M&M Tubes

I purchased these clear tubes from SRM months and months ago with the best intent to use them...but they just sat on the shelf :)  So I decided I wanted to make something small for my childrens teachers and admin school staff so I thought an M&M tube would be perfect!  I of course decided to get started on it last night around 9:30pm...needless to say I was up LATE!  I tried to make it as simple as possible.  Here they are:


I saw a few templates online but I just decided to make my own.  I used solid paper for the "holder", then added patterned paper to decorate it.  I used patterned paper for the scallop circle and for the little circle to put on the lid as well.  I used the Art Philosophy Cricut cartridge to cut the scallop at 2.25 inches.  I used a creme colored cardstock to print the sentiment on (which I just came up with because I have NO Thanksgiving stamps for some reason).  I used a scallop punch I had, I believe it is 2inches, to cut out the sentiment.  I replaced Principal with teacher for that one and for the admin assistant I just put So THANKFUL for you.  I also hot glued ribbon (I had some ribbon that said so thankful-perfect right and when I ran out of that I had some with leaves on it).  If I had more time I probably would have added a turkey or something...maybe next time :) 

If anyone is interested in the template I made, let me know and I will post it :)  TFL!

I entering this into the following challenge(s):
  1. More Than Favors-Wacky Wednesday
  2. Whimsical Wednesday Challenge "Happy Turkey Day"

CWC Giving Thanks Blog Hop WINNER!

Thank you to everyone for hoping along with us this past weekend.  The winner of the Pink by Design gift certificate is:

Heather P said...

What cute place holders!! Love them!! I love the detail you added to their 'wings'- so cute!

Heather

CWC DT

Congrats Heather-I just need your email address and I can send you the gift certificate.  Email me at debbiebutcher@comcast.net

Saturday, November 19, 2011

CWC "Giving Thanks” BLOG HOP

Welcome to WorkinScrappinMomof4 and the CookingWithCricut.com “Giving Thanks” Blog Hop!  If you've come from visiting Jill at http://www.jaihartjustlovelydesigns.blogspot.com/, you're in the right place! If you've just happened across my blog and would like to hop along with us, you can go to CookingWithCricut.com and start at the beginning.


Today’s hop is all about Thanksgiving decorations – for your home and table.

For my project I decided to do some table decorations to go along with my centerpiece and my 
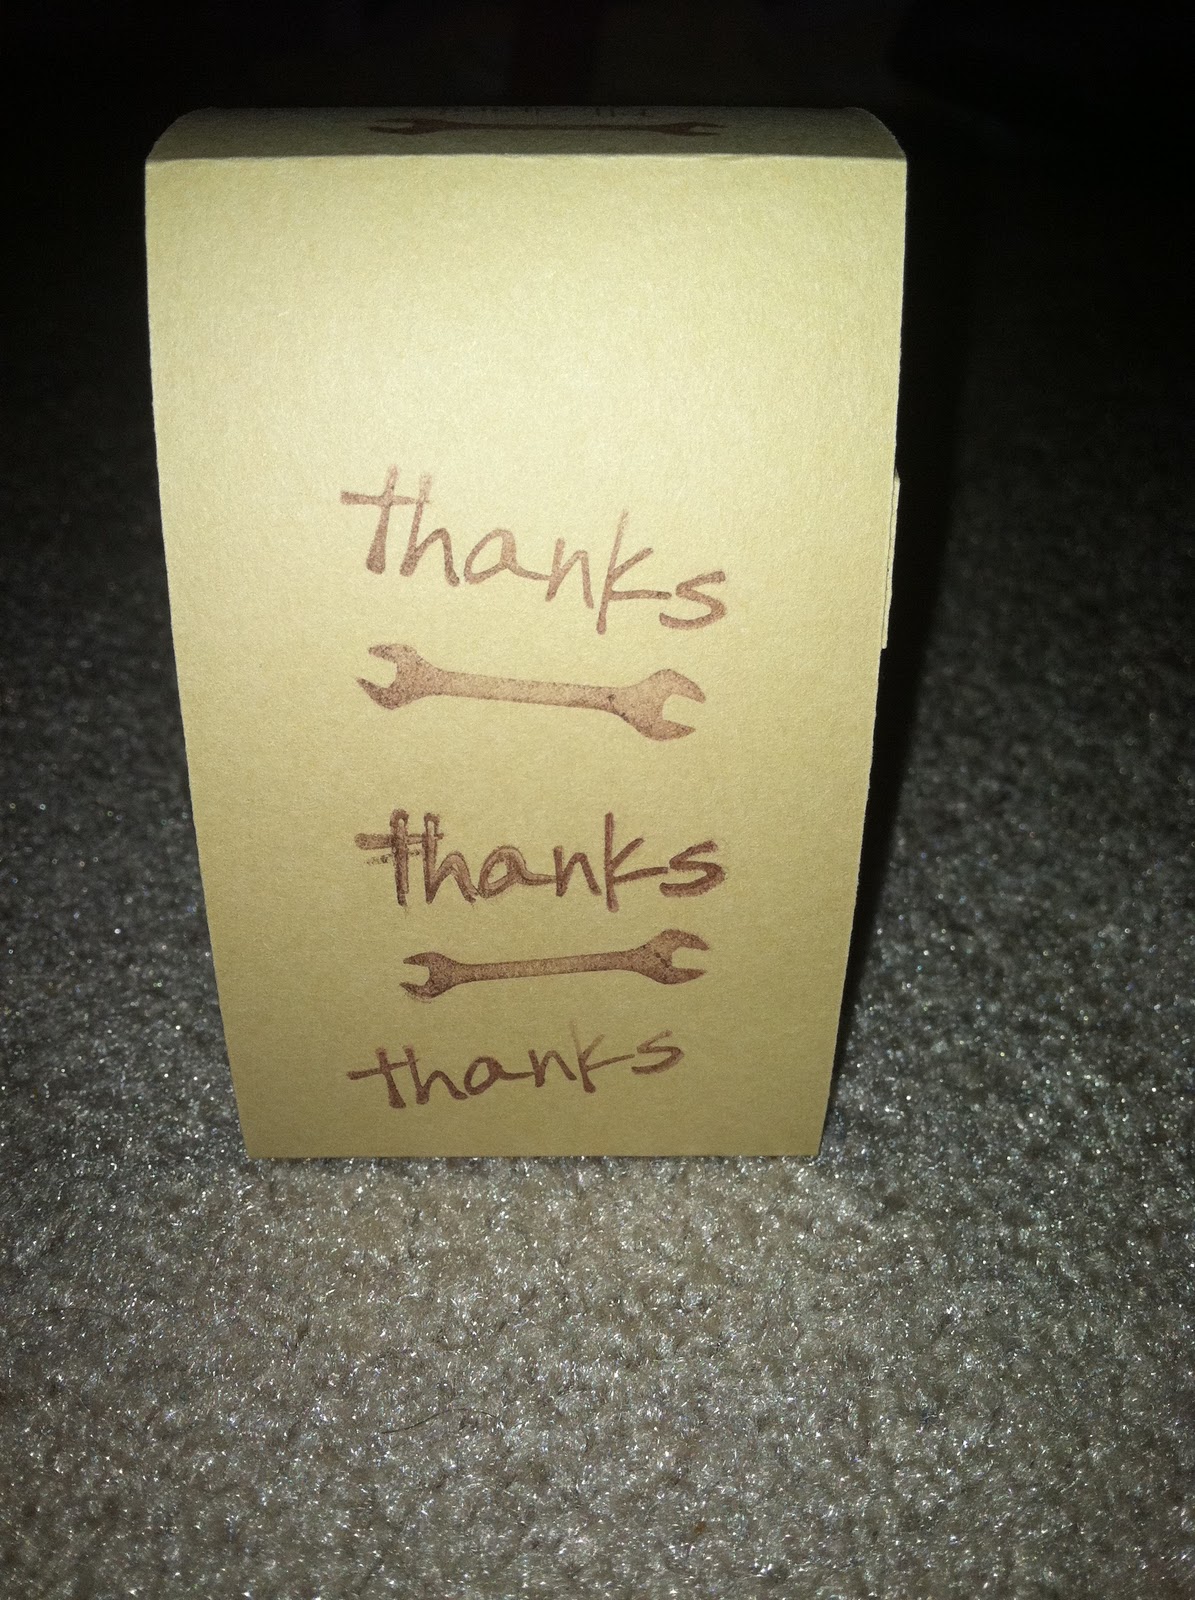
wreath I have made already :)  These little place setting/name cards can also "hold" something.  For now I filled one with a napkin and plastic silverware but will put a nice napkin and some "real" silverware in Thanksgiving morning for our breakfast (we are hosting breakfast at our house for my in-laws and eating out (Cracker Barrel-YUM) for dinner with my family.  Here they are:


I used Art Philosophy and Cricut CraftRoom to create my holder (welded some shapes together :).  I used it for the tag for the names also.  I used Create a Critter for my cute turkey.  I added a few gold details to him (features and stitching on his hat).  For the girls name cards I added some gems to the turkey feathers using my brand new iRock which I LOVE!

For this blog hop I will be giving away a $15 gift certificate to Pink by Design Stamps!  What is better than picking out your own prize, right!  To be eligible you need to leave a comment on this blog post by 11:59pm Monday, November 21st.  I will draw and post the winner Tuesday morning.  The winner will then have until Monday, November 28th to get in contact with me to claim their prize!  Good luck.

Now it's your turn! Link up your Thanksgiving project at CookingWithCricut.com. Here are a few guidelines:

 Must follow the challenge topic and use one of the free files provided at CWC.

 Must be a NEW project for this challenge. No back dated posts please.

 Must have a link back to this post on your blog.

 Must link your project post through Inlinkz and not just your blog.

 Must use your Cricut in some capacity.

 Must HAVE FUN!

 You may gladly combine challenges . . . we love to pile it on TOO!

The Design Team will pick their three favorites and one lucky person will be chosen randomly to win one of the prizes being offered in this hop. There is also a prize for just leaving us a comment on the CWC blog. One catch, those leaving comments MUST be a CWC follower. Each prize winner will receive a $10 gift voucher-download from PaperCraftingWorld.com.

Now head on over to see Michelle at http://michelles-crafty-creations.blogspot.com/ to see what she's cooked up for you!

Have a very Happy Thanksgiving!

I will be entering this project in the follow challenge(s):
  1. Paper Cutz Challenge 117

Wednesday, November 16, 2011

CWC Wednesday Challenge-Lets Talk Turkey!

Hello, welcome back for another Cooking with Cricut Wednesday Weekly challenge! This weeks theme is Lets Talk Turkey!  I decided to make a fall wreath for my front door.


I used a few pieces of paper (5 12X12 sheets for the actual wreath, that is IT!) from the Fall Stack from Recollections.  Then I cut the turkey using some solid cardstock and some patterned pieces from the same card stock stack for the turkey (I used Create a Critter to cut him and his layers).  Then I added some googly eyes and a little gold pen for some feathers and to outline his hat.  The Give Thanks is also from the Recollections stack, there was a sheet with a bunch of sayins and journaling boxes and I thought this one was perfect for my wreath.  I used some ribbon I bought at Joanns for $1 to hang the wreath!  I think it turned out cute and my kids love seeing it on the door :) 

Now it's your turn! I hope you will head on over to Cooking with Cricut to enter your project! TFL.


Have a crafty day!

Tuesday, November 15, 2011

Christmas Cards

Last Saturday my super crafty friend Stephannie came over so we could be ahead of the game and get our Christmas cards done.  This is the first time I have had them done in November.  I knew a month or so ago I wanted to do a gingerbread man but was not sure exactly what I wanted it to look like...here is how it ended up:


I went to Michael's Friday and they had ribbon 60% off plus I had an additional 25% coupon so I found two rolls of ribbon with gingerbread men on them and they ended up being 59cents!  I used Jolly Holidays to cut my gingerbread man and then I decided to use a cute Peachy Keen face on him and to give him a little scarf with some more ribbon I bought at Michaels (got it Saturday but still on sale and with the coupon but it was a little over $1 because it was more to start).  It looks like twine but has a wire in it so it worked perfect for the scarf!  I printed the sentiment on cardstock then just cut it out.  I found cute little button brads and used my white gel pen to add some details to the gingerbread man.  He is cute right? :)  Now the trick will be finishing them up by adding the family photo and getting them mailed in early December!  TFL.

Monday, November 14, 2011

Quick Sports Themed Gift Card Box

I used Sports Mania to cut out two footballs to decorate this little gift box (I used Art Philosophy for the box but you could find a template online or use another cartridge). I embossed the footballs after I cut them and then I ran them through my Xyron to ensure they would stick completely. I finished off the box with some football ribbon :) This is for a gift card for my son’s football coach but could easily be for a boys birthday also.  I just saw on the My Creative Time sneak peak for this week she has some coach's and sports sets coming out this week, so those would compliment a box like this!  Be sure to check those out.  I may have to order them and add a nice little tag to this gift :)  Thanks for stopping by, if you want to see other projects I have made with Sports Mania, stop by Cooking with Cricut today for the Sports Mania cartridge spotlight!


Thursday, November 10, 2011

Shaped Card using Cricut Craft Room

So I immediately downloaded the Cricut Craft Room software last night when I saw it was up and running!  I knew I needed to make a card for my sons football coach so I thought this would be perfect.  I decided to do a football helmet shaped card.  I used Cricut Craft Room to weld the helmets and to size the layers using the Sports Mania cartridge.  I then used Varsity Letters for the BEARS letters and Four Legged Friends (which I almost did not buy because I have NO pets but I got it for $13 so I could not pass it up) for the paw which I tried to stretch and make it look like the one on my sons helmet!  I love being able to weld and make shaped cards like this. SO cute...or SO tough (since it is football, LOL).  TFL.


Have a crafty day!

Wednesday, November 9, 2011

CWC Wednesday-Fruits, Harvest, Cornucopia, etc.

Hello, welcome back for another Cooking with Cricut Wednesday Weekly challenge!  This weeks theme is fruits, harvest, cornucopia, etc.  I decided to make a table centerpiece, something I could put on a tray and put in the middle of the table.  I made two paper pumpkins, two paper apples and a little turkey (I may end up making a few more turkeys, maybe one for each family member in different sizes). 

Here it is:


Each item was super easy.  I tried to explain it here in writing but even I confused myself so I thought this would be a great time for my first video!  So here you go, take a look and let me know what you think :)


I did not talk about my cute little turkey in the video, for him I used the super easy directions from Pink By Designs ustream last Friday to make him.  I used a borrowed (but now I have to buy it) Peachy Keen stamp from the Critter Faces set, to give my turkey a cute little face.


I think these will all look cute on the table once I find a little tray to put them on!  

Now it's your turn! I hope you will head on over to Cooking with Cricut to enter your project! TFL.

Have a crafty day!

Monday, November 7, 2011

A Funny Little Gift-A 5 Hour Energy Holder

A little over a week ago I had to arrange for the clearing out of an old copy room to begin some construction for a new office space (I am in administration and this is one the least favorite parts of my job :).  There was a very old lab fridge and freezer in the space.  Unfortunately before they could be disposed of they had to be defrosted...they were GROSS!  Luckily some of my co-workers offered to help.  One guy even did most of the work on the freezer.  I know he loves those 5 hour energy drinks so I decided to get him one and knew I could make a little holder like those hand sanitizer holders I did last year at Christmas (found that idea online).  I had to make some measurement changes but it was actually easier than I thought.  I decided to use my Pink by Design Just 4 Men stamp set to stamp all over the holder with some of the different sentiments (note to self, do this before folder and adhering next time :).  I also had a cheapy little $1 set that had a wrench and another with the word thanks so I used those little stamps too.  I wrote a little note of thanks on the inside.  Nothing fancy but I think it is cuter than just a thank you card :)  TFL.


Sunday, November 6, 2011

Quick Thank You cards

I needed a few quick thank you cards for some folks at work for helping with a task really outside of any of our job descriptions (other duties as assigned does not even really cover it, LOL) and also for a Lab Chief-Scientist (I am in administration) who took my and a few of my staff on a tour of his lab so we could see the science side of things!  I am super tired from the time change, busy weekend and a non-sleeping daughter who likes to wake me up every night so I just wanted to do something quick.  I picked two colors and some stamps from my cheapy $1 stamps and came up with this card.  I then decided to add some pearls to all of them (my FIRST time using them) and some ribbon (only to 2 of the 4 because I could not decide if I liked it).  I think they will do just fine for what I need, TFL :)  Hope everyone had a great weekend!


Thursday, November 3, 2011

Is Halloween really over?

I cannot believe it, I guess it is time to start getting ready for Christmas (I probably will do 2-3 Thanksgiving crafts but usually do not do too much for it).  I wanted to finish off Halloween by posting the final quick goodie bags I made for my co-workers and my boys teachers.  Also, 2 little goodie bags I made for our neighbors that we went trick or treating with on Halloween. 

As with my other bags I used Art Philosophy for the topper (cut the fancy square and then scored it in the middle).  Then for the S'MORES bags I printed the sentiment (thanks to Pink Cricut for the sentiment idea) on my computer and used the center cut feature to cut out the tag.  Super duper easy :)  For the kids goodie bags I cut the tags then I stamped the Happy Halloween using a stamp from the Guess Who set from Pink by Design stamps :)  TFL!

Here are some pics: