This is my personal blog that hopefully others will enjoy finding information on projects, ideas, etc. that I have created, scraplifted or borrowed :)
Showing posts with label advent calendar. Show all posts

Friday, December 9, 2011

Matchbox Advent Calendars for My Boys

Last year I made matchbox advent calendars for my boys and for one of my nieces.  They can be seen here.  While I loved that they were home made the "drawers" were very small and hard to put any treats in besides candy.  I decided to pass those onto my girls (they are happy with a piece of candy or a sticker) and make my boys new ones with bigger "drawers".  I could not find a good template online so I just played around with it and ended up making a box that is 2.5 inches wideX 3.5 inches long and 1.5 inches tall which is perfect.  I can even fit a deck of cards in there!  PERFECT!  I had a lot of fun making these just because I love doing things like this for them.


Here they are:

I used Jolly Holidays for the tree on top (cut at 4inches) and then added some iRock gems and some snow writer marker snow (love that thing).  I printed their names directly onto a patterned card stock I had then used a Creative Memories tag punch I had to make their names.  Since I used patterned papers to make pretty boxes I did not want to decorate the outside of the Advent calendars.  In all they are about 10 inches tall and 7 inches across.  They loved them and get so excited to open a drawer each night :)  (so far they have received candy, tic tacs, Christmas playing cards, a hex bug and some erasers :)

At least next year I will just have to fill them (and maybe make new/bigger ones for the girls :)

PS:  All you really need is some paper and maybe a piece or two of cardboard for in between the layers.  I used a a few sheets of paper from a stack of Recollections Christmas paper and just some plain red and green paper Recollections paper I bought at Michaels on sale :)

Thursday, December 1, 2011

Gum Advent Calendars

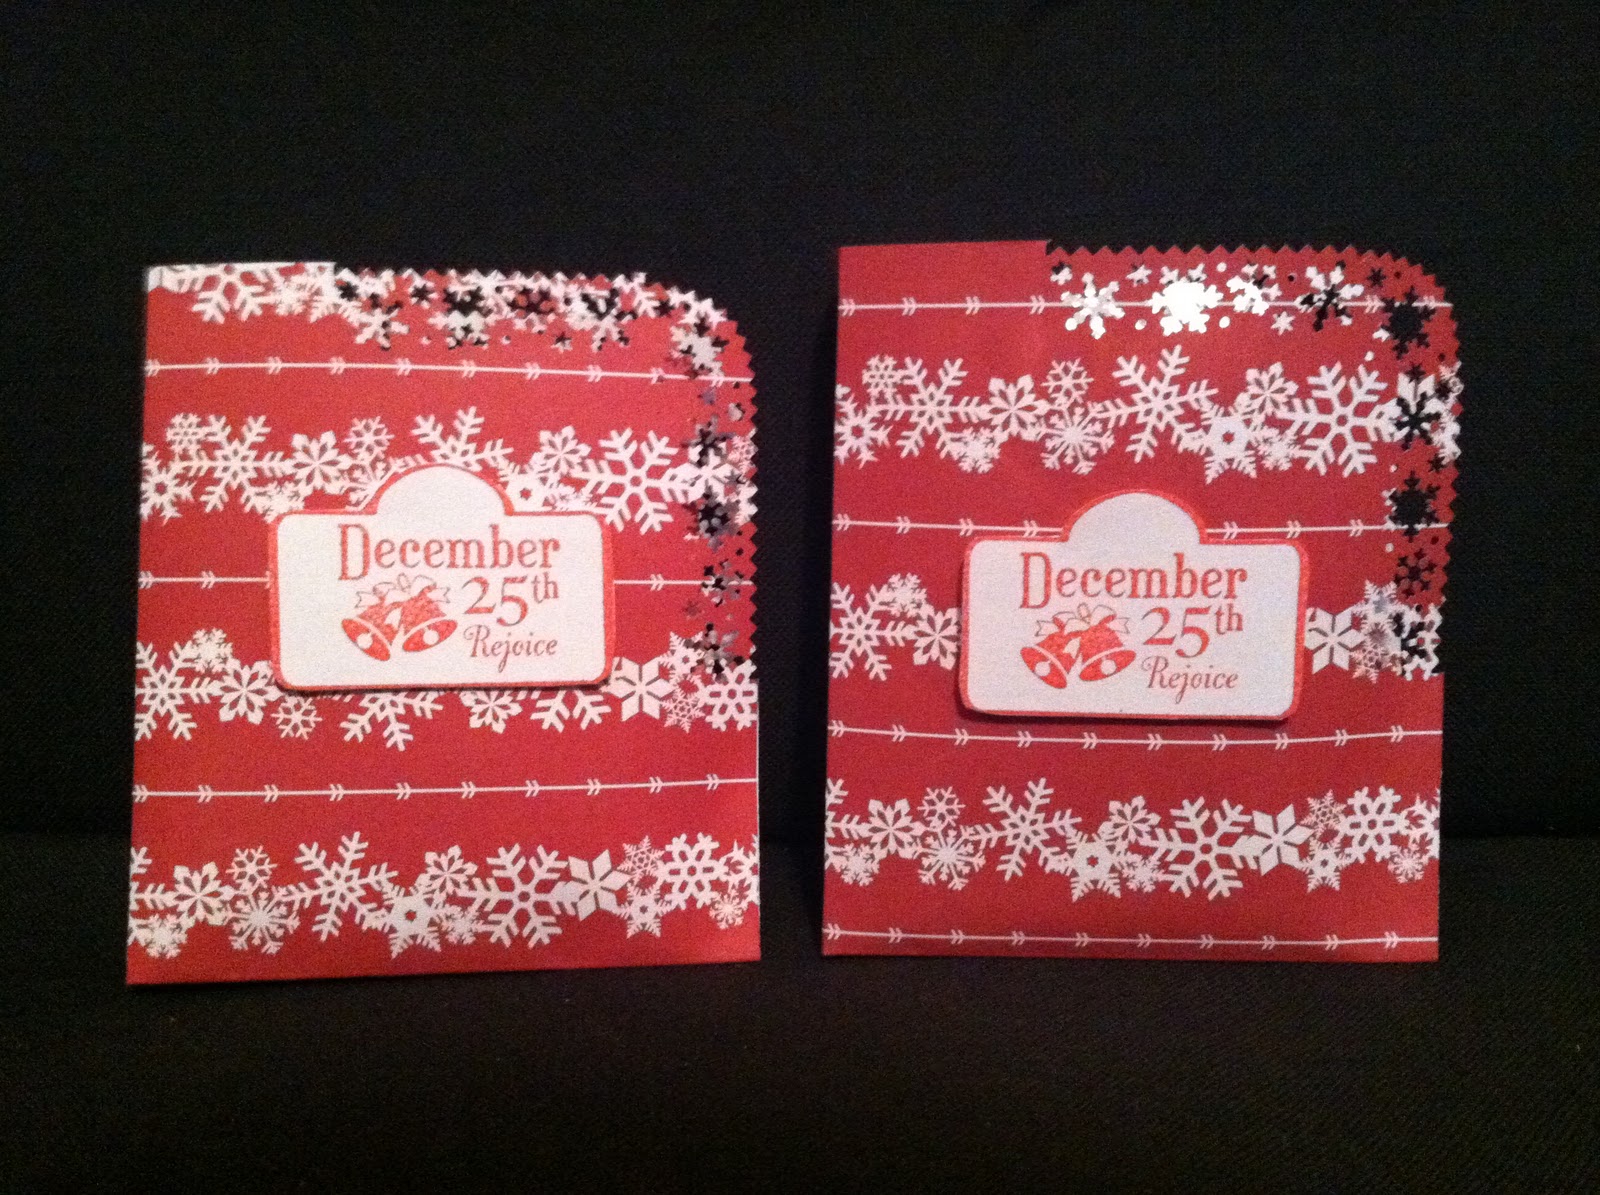
So on my way to take my boys to school (at a stop light) I see todays posting from Pink Cricut and think OMG, I HAVE to make these!  So today as soon as I get done with work (I work from home on Tuesday and Thursdays thank goodness) I quickly make them.  The boys LOVED them because they both love gum and this ensured they could have one piece at least for the next 24 days, LOL.  My one son does not like minty gum so I had to do his a little different to give him the Trident he likes but it still worked! 

Here they are:


I used a Marth Stewart corner and edge punch for the top/side edges.  I used Pink By Designs November stamp of the month set and die for the front...isn't it perfect!  It was SUPER easy but so darn cute!  I only used 1 sheet of patterned paper and some white scratch paper for the sentiment and for the paper to hold the trident (I just stuck it on the paper with the opening side facing up so that my son could still open the gum without having to remove it from the paper).  You certainly could make yours prettier but pretty is usually lost on my boys so I went with simple :)

Now, if you want to know how to make one, stop over at Pink Cricut and watch Sarah's tutorial! 

Monday, November 29, 2010

WOW, It's Been a LONG Time!

I am not sure what happened this summer but I really have been unable to log on to post.  I have still enjoyed reading others blogs but hope to post AT LEAST once a week from now on because I really miss it!  I feel like I have still been creating but not posting.  Well the most recent craft I worked on was making a slider box advent calendar for my niece.  She had her tonsils out recently so I wanted to give her a get well/early Christmas gift.  I think for my first time making anything like this, including the slider boxes, it turned out cute.  I am hoping to get a few more made this week for my children (minus my 16 month old) and maybe my other niece, if  I can get it done.  Wish me luck! 

Here are the pics of the advent calendar.  Each drawer has a little surprise in it.  It was hard to find little items to fit in there but I really enjoyed making it.   I covered chipboard to make the top and bottom pieces to attached the boxes too.
The top is just a piece of chipboard covered in paper that I embossed using a sizzix die.