Last year I made matchbox advent calendars for my boys and for one of my nieces. They can be seen here. While I loved that they were home made the "drawers" were very small and hard to put any treats in besides candy. I decided to pass those onto my girls (they are happy with a piece of candy or a sticker) and make my boys new ones with bigger "drawers". I could not find a good template online so I just played around with it and ended up making a box that is 2.5 inches wideX 3.5 inches long and 1.5 inches tall which is perfect. I can even fit a deck of cards in there! PERFECT! I had a lot of fun making these just because I love doing things like this for them.
Here they are:
I used Jolly Holidays for the tree on top (cut at 4inches) and then added some iRock gems and some snow writer marker snow (love that thing). I printed their names directly onto a patterned card stock I had then used a Creative Memories tag punch I had to make their names. Since I used patterned papers to make pretty boxes I did not want to decorate the outside of the Advent calendars. In all they are about 10 inches tall and 7 inches across. They loved them and get so excited to open a drawer each night :) (so far they have received candy, tic tacs, Christmas playing cards, a hex bug and some erasers :)
At least next year I will just have to fill them (and maybe make new/bigger ones for the girls :)
PS: All you really need is some paper and maybe a piece or two of cardboard for in between the layers. I used a a few sheets of paper from a stack of Recollections Christmas paper and just some plain red and green paper Recollections paper I bought at Michaels on sale :)
This is my personal blog that hopefully others will enjoy finding information on projects, ideas, etc. that I have created, scraplifted or borrowed :)
Friday, December 9, 2011
Thursday, December 8, 2011
25 Days of Crafting Fun with Cooking with Cricut-Day 8
Hello and welcome to day 4 of 25 days of Christmas Crafting Showcase at Cooking with Cricut. Today's theme is April, Easter or Spring. I made a 6X6 calendar page to go along with the ones already made (January-March) on the previous days of crafting fun! I used the free PDF calendar provided at the Cooking with Cricut page. I also used the free digi stamp!
April is one of my favorite months because my oldest child, my very first baby, was born in April :) Also, I love Spring and the start of baseball season! Of course Easter and the reminder of all Jesus has done for us is also a reason to love it :)
Here is my page:
I hand cut out the digi stamp and some extra hearts (I printed it twice) so I could "layer" the hearts which is hard to tell from this photo but you can see the glossy accents I added and the snow writer marker I used on the bunny to give him some fluff! I also added some orange bling to the calendar and the April label using my iRock.
April is one of my favorite months because my oldest child, my very first baby, was born in April :) Also, I love Spring and the start of baseball season! Of course Easter and the reminder of all Jesus has done for us is also a reason to love it :)
Here is my page:
I hand cut out the digi stamp and some extra hearts (I printed it twice) so I could "layer" the hearts which is hard to tell from this photo but you can see the glossy accents I added and the snow writer marker I used on the bunny to give him some fluff! I also added some orange bling to the calendar and the April label using my iRock.
Labels:
Cooking with Cricut,
glossy accents,
iRock,
snow marker
Tuesday, December 6, 2011
Cute Cupcake Birthday
My girls were invited to a birthday party last weekend so I wanted to make a cute little cupcake card. The little girl was turning 3 so I did 3 cupcakes.
Here it is:
I used my NEW (yeah) Princess Faces Peachy Keen face stamps (I love those little lips, LOL). I used Once Upon a Princess for the cupcakes and I used My Creative Time Many Greetings for the Happy Birthday sentiment. I used an edge trimmer for the candles and I added some gold stickles for the "flames". I also added some pink stickles to the cupcakes. TFL!
Labels:
birthday,
My Creative Time,
Once Upon a Princess,
Peachy Keen,
stickles
Monday, December 5, 2011
25 Days of Crafting Fun Day 5
Hello and welcome to Day 3 of crafting fun with Cooking with Cricut. Make sure you stop by http://www.cookingwithcricut.com/ to get your frebbies, look at all of the amazing giveaways (please read the requirements to be entered for the giveaways) and great projects from the design team.
Today is all about candy canes, peppermints, etc. I was at the grocery store and saw these lollipops and just knew I had to do something with them so I picked up a few bags.
Using Cricut CraftRoom I used the same template that I used for my Thanksgiving Turkey name cards but made the base a little bigger and made a lollipop holder! (I had seen something similar but using a die on My Creative Time).
Here it is:
These will be from my boys to their classmates during the class Christmas party! I used the free digi stamp to decorate the tag (I used Tags, Bags, Boxes and More but you could use any tag). I used the print a contact sheet function on the picture wizard to get a bunch of the digi stamps small enough and to print all on one page of card stock!
If you use Cricut CraftRoom and would like the file I used email me and I will be happy to send it to you (you have to have the Art Philosophy cartridge to cut with it). My email is debbiebutcher at comcast dot net.
Thanks for stopping by and be sure to stop by Cooking with Cricut all month long for some crafty fun!
Today is all about candy canes, peppermints, etc. I was at the grocery store and saw these lollipops and just knew I had to do something with them so I picked up a few bags.
Using Cricut CraftRoom I used the same template that I used for my Thanksgiving Turkey name cards but made the base a little bigger and made a lollipop holder! (I had seen something similar but using a die on My Creative Time).
Here it is:
These will be from my boys to their classmates during the class Christmas party! I used the free digi stamp to decorate the tag (I used Tags, Bags, Boxes and More but you could use any tag). I used the print a contact sheet function on the picture wizard to get a bunch of the digi stamps small enough and to print all on one page of card stock!
If you use Cricut CraftRoom and would like the file I used email me and I will be happy to send it to you (you have to have the Art Philosophy cartridge to cut with it). My email is debbiebutcher at comcast dot net.
Thanks for stopping by and be sure to stop by Cooking with Cricut all month long for some crafty fun!
Sunday, December 4, 2011
Day 4-25 Days of Crafting Fun-Love Theme
Hello and welcome to day 4 of 25 days of Christmas Crafting Showcase at Cooking with Cricut. Today's theme is February and Love. I decided to get an early start on planning for my Valentine gifts for the teachers at my children's school. I used this super cute digi stamp which you can get at Cooking with Cricut to create a tube of love (also known as candy, LOL).
Here is my tube full of love (candy :):
I just used two 2X12 inch pieces of red paper for the rosette and then I cut a scalloped circle at 2.5 inches using Art Philosophy and then printed the digi stamp and used my circle punch to cut him out. Isn't he adorable. I hot glued it all together and then hot glued it onto my tube filled with red Rollo's (you could also do red M&M's or red Hershey kisses! I know I would be happy to receive one of these :)
Don't forget to go back to Cooking with Cricut and see all of the great freebies and ideas shared by the other designers and you can also enter to win some great giveaways (make sure you read the requirements completely).
Thanks for stopping by and have a crafty day!
Saturday, December 3, 2011
An Easy Hostess Gift (dressed up)
My good friend Stephannie is having her annual wine and cheese tonight and she has a different theme each year. This year it is "Summer in December" so I wanted to make a small hostess gift that could go along with the theme.
Here is what I came up with:
While at Target I picked up a cute little box in Christmas colors that could be filled with candy. I picked up some yummy Lindt Lindor truffles to go in (dark chocolate and peppermint). I wanted to decorate the box and since her theme was a summer theme I used Paper Doll Dressup to make a Summer Santa, a Palm tree and a cute sun (both Santa and the sun have a cute peachy keen face). I just recently ordered some of the snow writer makers from http://www.markersupply.com/ because I had seen it several blogs (arrived in 2 days)! I used it on Santa's beard and the brim of his hat. I LOVE how it turned out. I also did a little bit of embossing on the sand part of the palm tree to make it look more sandy! Now I just hope I can keep from eating the candy before we get there!
PS: I also plan to give her a snow marker inside of it because she is a crafter like me :)
Thanks for stopping by! Have a crafty day.
Here is what I came up with:
While at Target I picked up a cute little box in Christmas colors that could be filled with candy. I picked up some yummy Lindt Lindor truffles to go in (dark chocolate and peppermint). I wanted to decorate the box and since her theme was a summer theme I used Paper Doll Dressup to make a Summer Santa, a Palm tree and a cute sun (both Santa and the sun have a cute peachy keen face). I just recently ordered some of the snow writer makers from http://www.markersupply.com/ because I had seen it several blogs (arrived in 2 days)! I used it on Santa's beard and the brim of his hat. I LOVE how it turned out. I also did a little bit of embossing on the sand part of the palm tree to make it look more sandy! Now I just hope I can keep from eating the candy before we get there!
PS: I also plan to give her a snow marker inside of it because she is a crafter like me :)
Thanks for stopping by! Have a crafty day.
Thursday, December 1, 2011
Gum Advent Calendars
So on my way to take my boys to school (at a stop light) I see todays posting from Pink Cricut and think OMG, I HAVE to make these! So today as soon as I get done with work (I work from home on Tuesday and Thursdays thank goodness) I quickly make them. The boys LOVED them because they both love gum and this ensured they could have one piece at least for the next 24 days, LOL. My one son does not like minty gum so I had to do his a little different to give him the Trident he likes but it still worked!
Here they are:
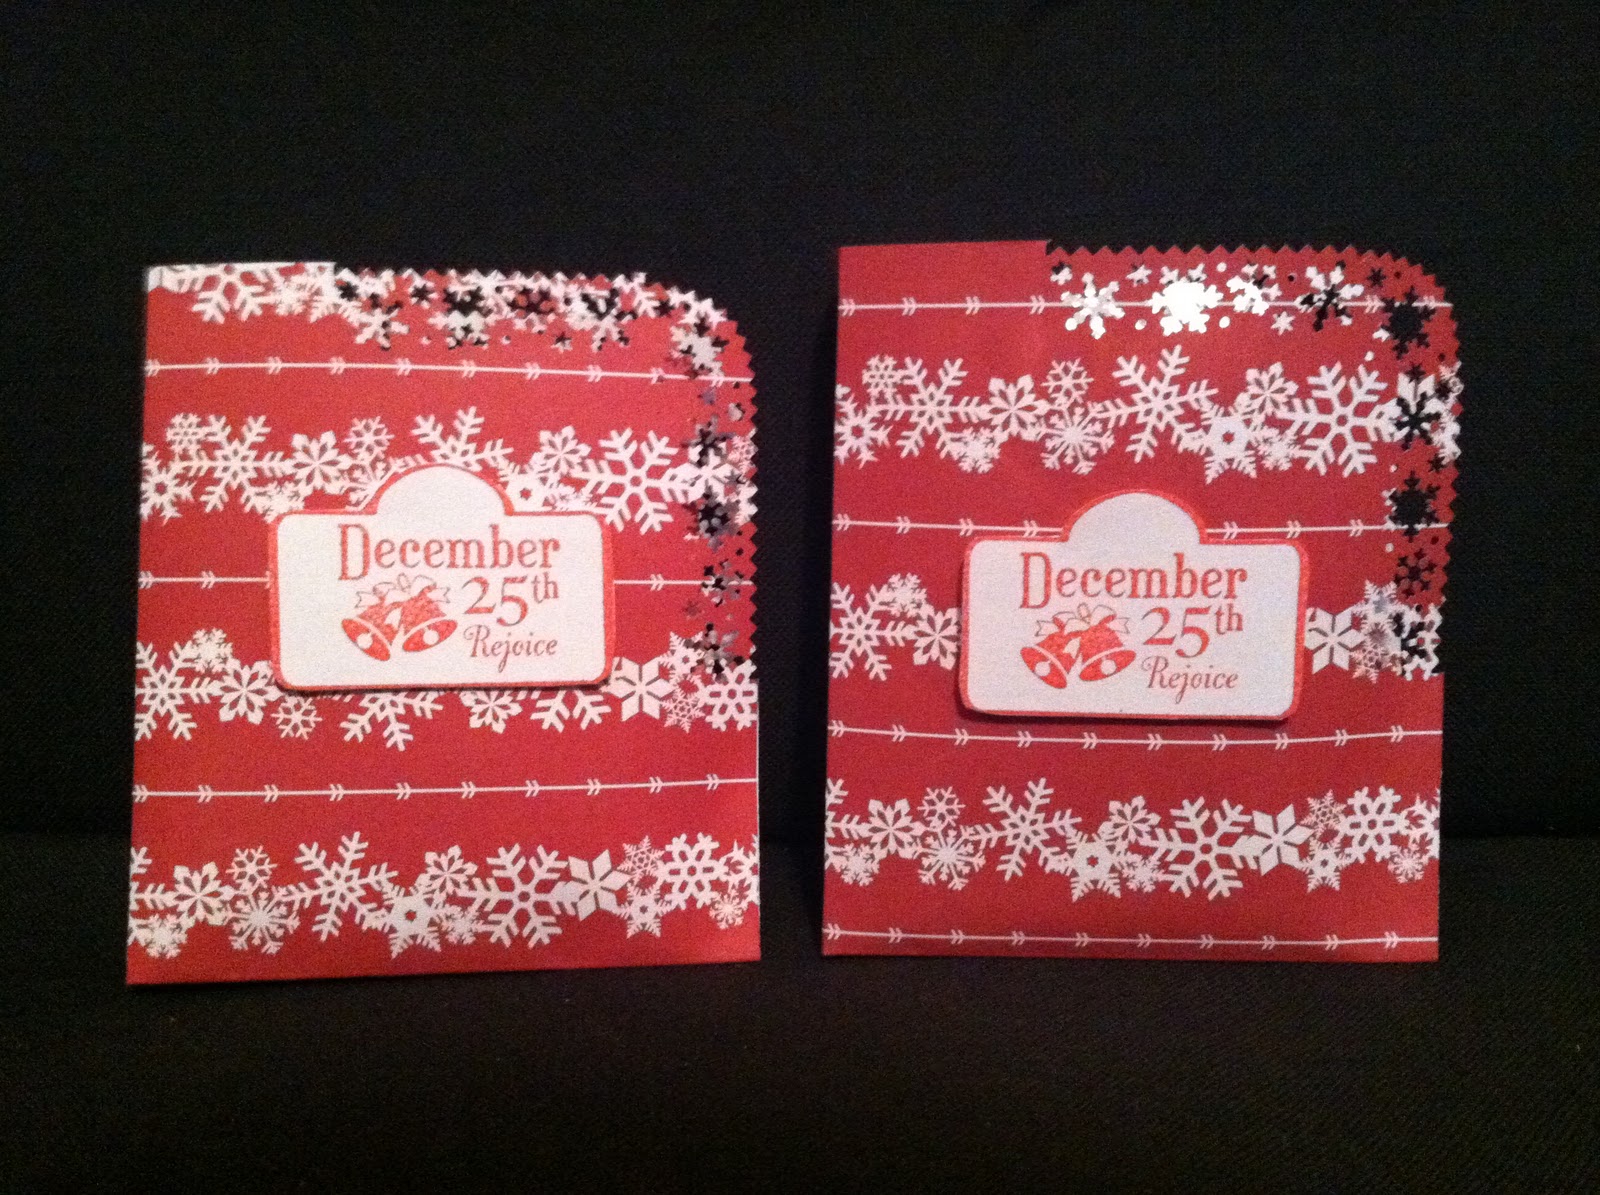
I used a Marth Stewart corner and edge punch for the top/side edges. I used Pink By Designs November stamp of the month set and die for the front...isn't it perfect! It was SUPER easy but so darn cute! I only used 1 sheet of patterned paper and some white scratch paper for the sentiment and for the paper to hold the trident (I just stuck it on the paper with the opening side facing up so that my son could still open the gum without having to remove it from the paper). You certainly could make yours prettier but pretty is usually lost on my boys so I went with simple :)
Now, if you want to know how to make one, stop over at Pink Cricut and watch Sarah's tutorial!
Here they are:
I used a Marth Stewart corner and edge punch for the top/side edges. I used Pink By Designs November stamp of the month set and die for the front...isn't it perfect! It was SUPER easy but so darn cute! I only used 1 sheet of patterned paper and some white scratch paper for the sentiment and for the paper to hold the trident (I just stuck it on the paper with the opening side facing up so that my son could still open the gum without having to remove it from the paper). You certainly could make yours prettier but pretty is usually lost on my boys so I went with simple :)
Now, if you want to know how to make one, stop over at Pink Cricut and watch Sarah's tutorial!
Labels:
advent calendar,
Christmas,
Pink By Design Stamps,
stamps
Subscribe to:
Posts (Atom)